

Must-Do List Before Creating any Workflow for Any AI Agent System
Ensure your AI agent system’s success with this essential must-do list before creating any workflow. Learn strategic planning , from defining objectives to testing and optimizing your AI agents, perfect for both beginners and non-techies.

Author

D Team
29 Aug 2024
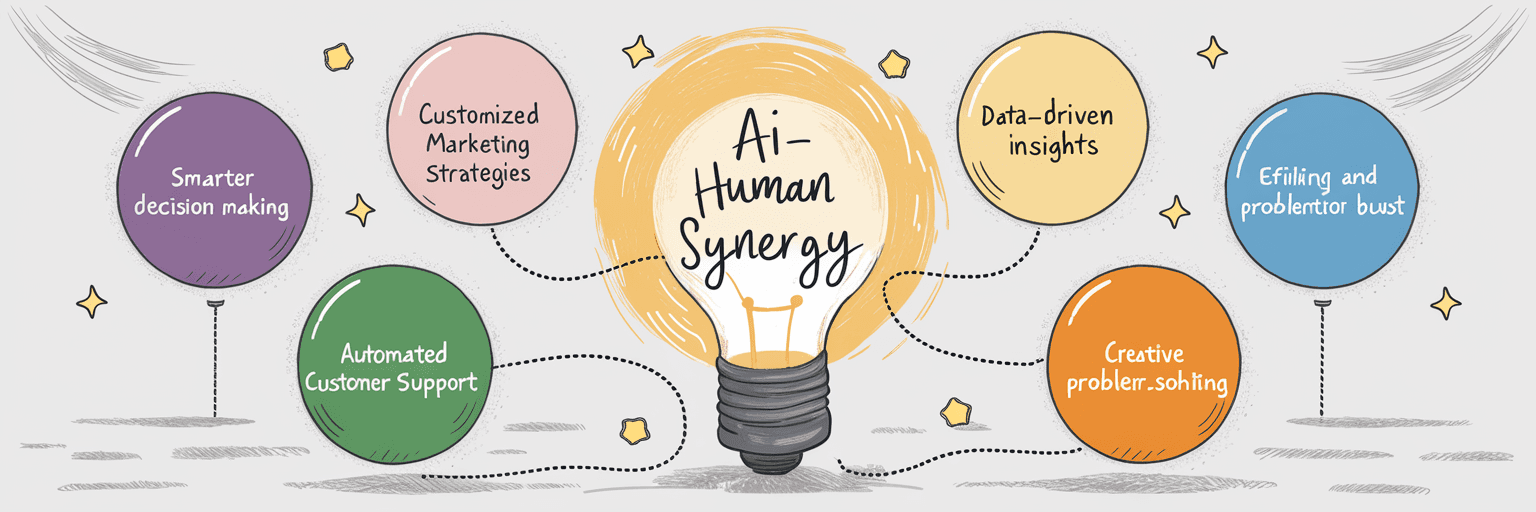
Creating a workflow for an AI agent system is more than just setting up tasks and algorithms; it’s about strategic planning, thoughtful design, and ensuring that every component works in harmony. Whether you’re a beginner or have some experience with AI, having a checklist of essential steps can make the process smoother and more effective. This guide provides a comprehensive must-do list before creating any workflow for an AI agent system, ensuring your project is well-structured, efficient, and primed for success.
Step 1: Define Clear Objectives and Outcomes
Before diving into the technical details, it’s crucial to start with a clear understanding of what you want to achieve. Defining the primary objectives helps guide every decision you make in the workflow development process.
Key Questions to Ask:
What is the specific problem the AI agent will solve?
What are the desired outcomes? (e.g., faster response times, improved accuracy, enhanced customer satisfaction)
How will success be measured? (e.g., response accuracy rate, user engagement metrics)
Example:
If you're developing an AI customer service bot, your main objective might be to reduce the average response time for customer queries. Success could be measured by the number of resolved inquiries within a specified time frame.
Step 2: Map Out the Entire Workflow
Mapping out the workflow before implementation is essential to visualize how the AI system will function from start to finish. This includes identifying key stages, decision points, and the flow of data through the system.
Action Points:
Create a flowchart outlining each step in the process.
Identify inputs (e.g., customer queries), processing stages (e.g., data retrieval, decision-making), and outputs (e.g., responses).
Highlight any dependencies between different parts of the system.
Analogy:
Think of this step as designing a blueprint for a house. You wouldn’t start building without knowing where each room, door, and window will be placed. Similarly, a detailed workflow map ensures you know how each component of your AI system fits and functions together.
Step 3: Identify Core Tasks and Specializations
Once the workflow is mapped, break it down into core tasks that need to be handled by specific AI agents. Each task should have a dedicated agent that specializes in that function, ensuring efficiency and ease of management.
Checklist for Task Identification:
Segregate tasks: Divide complex tasks into simpler, manageable parts.
Assign roles: Determine which AI agents are best suited for each task.
Define task boundaries: Clearly outline what each agent is responsible for and where its role ends.
Example:
For an AI-driven e-commerce assistant, tasks might include product recommendation, customer query understanding, and checkout assistance. Each of these can be assigned to a different agent, such as a recommendation engine, a natural language processing (NLP) bot, and a payment processing AI.
Step 4: Set Up Data Pipelines and Integration Points
Data is the lifeblood of AI systems. Establishing robust data pipelines ensures your AI agents have the information they need to function correctly. Integration points should be well-defined to facilitate smooth communication between different system components.
Must-Dos:
Identify data sources: Determine where the data will come from (e.g., databases, APIs, sensors).
Set up data preprocessing: Ensure data is cleaned, formatted, and ready for use.
Define integration protocols: Set clear rules for how agents will exchange data, such as through APIs or message queues.
Example:
In a smart home AI system, data might flow from sensors (temperature, motion) to processing agents (heating control, security alerts). Ensuring these data pipelines are secure, efficient, and reliable is crucial for the system’s overall functionality.
Step 5: Establish Error Handling and Fail-Safe Mechanisms
AI systems need to be resilient and prepared for unexpected situations. Building error handling and fail-safe protocols into your workflow ensures that your AI agents can gracefully handle issues without crashing or providing incorrect outputs.
Key Elements to Include:
Error logging: Track errors as they occur to identify patterns and areas needing improvement.
Fallback strategies: Have backup actions when an AI agent encounters a problem (e.g., switching to a simpler decision rule if complex processing fails).
Notification systems: Alert human operators when issues arise, allowing for quick intervention.
Example:
If an AI customer support bot fails to understand a query, a fallback could involve escalating the issue to a human agent or providing a generic response, like, “I’m not sure about that, but I can connect you to someone who can help.”
Step 6: Design for Scalability and Flexibility
AI workflows should be built with future growth in mind. As needs change, your system should be flexible enough to adapt without requiring a complete overhaul.
Scalability Strategies:
Modular design: Keep agents and tasks modular so you can add, remove, or update components without disrupting the whole system.
Cloud-based solutions: Utilize cloud infrastructure for easy scaling of computational resources.
Version control: Use version control systems for tracking changes and rolling back if necessary.
Analogy:
Think of your AI system like a puzzle. If each piece is well-designed, you can easily swap out one part for another as your needs evolve. This modularity makes it easy to update individual components, such as upgrading an NLP agent without affecting other parts of the system.
Step 7: Test, Validate, and Iterate
Testing is crucial to ensure your AI system performs as expected. It’s not just about running your AI once and calling it good—it’s about continuous validation, learning, and improvement.
Testing Checklist:
Unit testing: Test each agent individually to ensure it performs its specific task correctly.
Integration testing: Test the entire workflow to ensure agents interact smoothly and data flows correctly.
User feedback: Collect feedback from end-users to identify areas of improvement.
Example:
In a chatbot workflow, unit tests might check if the bot correctly understands specific phrases. Integration tests would then ensure that after understanding a query, the bot pulls the correct information from the database and responds appropriately. User feedback would highlight if the responses are actually helpful in real-world scenarios.
Step 8: Monitor Performance and Optimize
After deploying your AI system, continuous monitoring and optimization are essential to maintain performance and improve over time. Monitoring helps you identify bottlenecks, inefficiencies, or emerging issues.
Performance Metrics to Track:
Response time: How quickly does the AI agent complete its task?
Accuracy: How often does the agent provide the correct output?
User satisfaction: Are end-users satisfied with the AI’s performance?
Optimization Tips:
Use analytics tools to track performance metrics in real time.
Regularly update models with new data to keep them relevant.
Conduct routine audits to ensure compliance with security and privacy standards.
Conclusion: A Well-Planned Workflow Is Key to AI Success
Building a workflow for AI agents is not just about writing code—it’s about careful planning, strategic thinking, and continuous improvement. By following this must-do list, you can ensure your AI system is well-structured, resilient, and primed for success. Whether you’re developing a simple chatbot or a complex multi-agent system, this checklist provides a solid foundation to guide your workflow creation process.